Why would you do this?
- if you take online security seriously…
- if you have children who use laptops and tablets at home…
- if the many articles regarding the problems with social media concern you…
- if you are concerned with how your children are developing…
- if you want to reduce the miriad of negative imagery and negative messaging…
- if you want to avoid online bullying…
- if you want to protect your data from hackers…
- if you want to make it harder for hackers to watch you through your laptop camera…
- etc, etc, etc…
This is what I did to set up a firewall at home.
I purchased the following device from Amazon:
Firewall Micro Appliance With 4x Intel Gigabit Ports, Intel Atom E3845, AES-NI, 4GB RAM, 32GB mSATA (https://www.amazon.com/gp/product/B0742P83HY/ref=ppx_yo_dt_b_asin_title_o08_s00?ie=UTF8&psc=1) for $319 + tax.
My intention was to use the open source firewall pfSense® on the appliance. To do so, I downloaded version 2.4.4-p1 of the software from here: https://www.pfsense.org/download/
I used the following parameters on the download page:
- Architecture: AMD54 (64-bit)
- Installer: USB Memstick Installer
- Console: VGA
- The filename was: pfSense-CE-memstick-2.4.4-RELEASE-p1-amd64.img.gz
Once downloaded I had to create a bootable USB stick. I had a spare 4gb stick lying around (it was an old Windows 8 recovery USB stick). I also needed software to burn the pfSense image onto the stick.
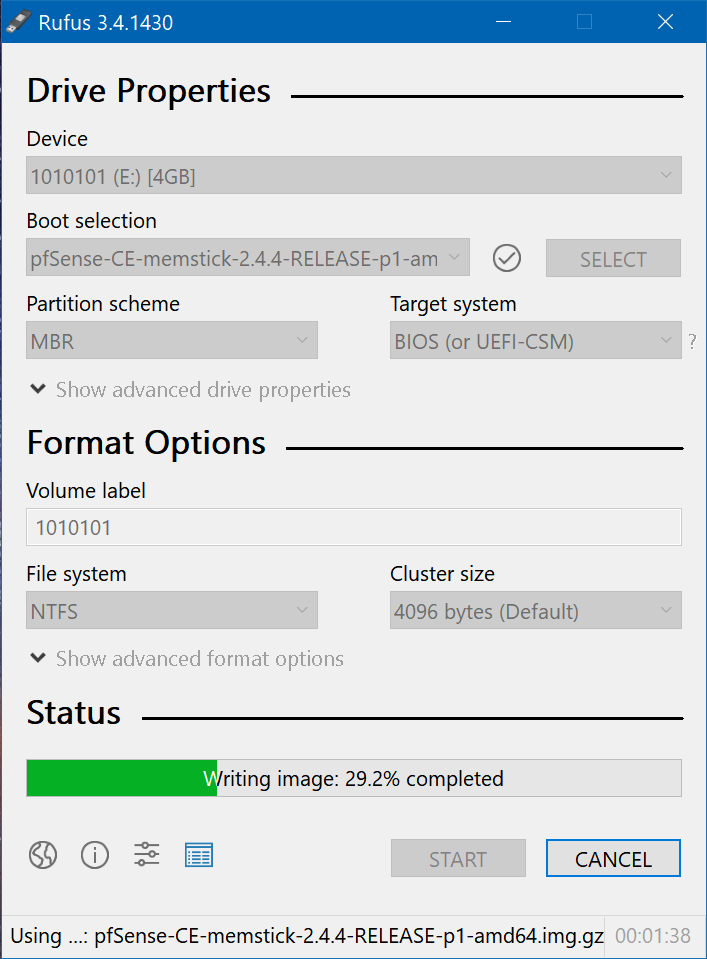
I downloaded Rufus from here: https://rufus.ie/, it’s a free app. Rufus downloaded as an executable with nothing to install. Once I ran the app, I pointed it to the stick, the pfSense gz file, and created a bootable pfSense installation USB stick.
Next, I had to install pfSense onto my appliance, the appliance manufacturers had good instructions here: https://protectli.com/kb/how-to-install-pfsense-ce-2-4-on-the-vault-2/
I am retyping portions of the page out here, in case it disappears…
There 2 ways to install pfSense on the Vault;
- using the COM port (serial console), or
- using a more “traditional” way using a VGA or HDMI monitor with a USB keyboard
I chose the easy way to begin with, and as I learn more about firewalls and how pfSense works I’ll try to make it more and more secure.
The easiest way to install pfSense that is most likely to be error-free is with the VGA/HDMI monitor and a USB keyboard option.
pfSense Installation Steps
- Verify that the Vault is powered down
- Verify that the VGA monitor is connected
- Verify that the USB keyboard is plugged in
- While powering up the Vault, press “DEL” key to boot into the BIOS.
- Select “Advanced” tab
- Select “CSM Configuration”
- Select “Boot option filter”
- Select “UEFI only”
- Press “F4” to save and exit the BIOS
- Power off the unit and insert the USB install drive
- While powering up the Vault again, press “F11” key and verify that it boots to the BIOS boot options screen.
- NOTE: If using the serial installer, F11 commonly will not show the boot options menu. In this case, use the “DEL” key to enter the BIOS. In the BIOS, a specific boot device can be chosen from the last, or rightmost tab.
- Select the USB drive UEFI partition to boot from
- Verify that the Vault boots and begins the installation process
- Follow the on-screen installation prompts to install pfSense
- Verify that the installation continues and the “Reboot” prompt appears
- Reboot the system
- Verify the “sync” messages are displayed as the unit reboots and the screen goes blank
- Immediately remove the USB drive from the unit and verify that the unit boots to pfSense menu
Now to configure…
